

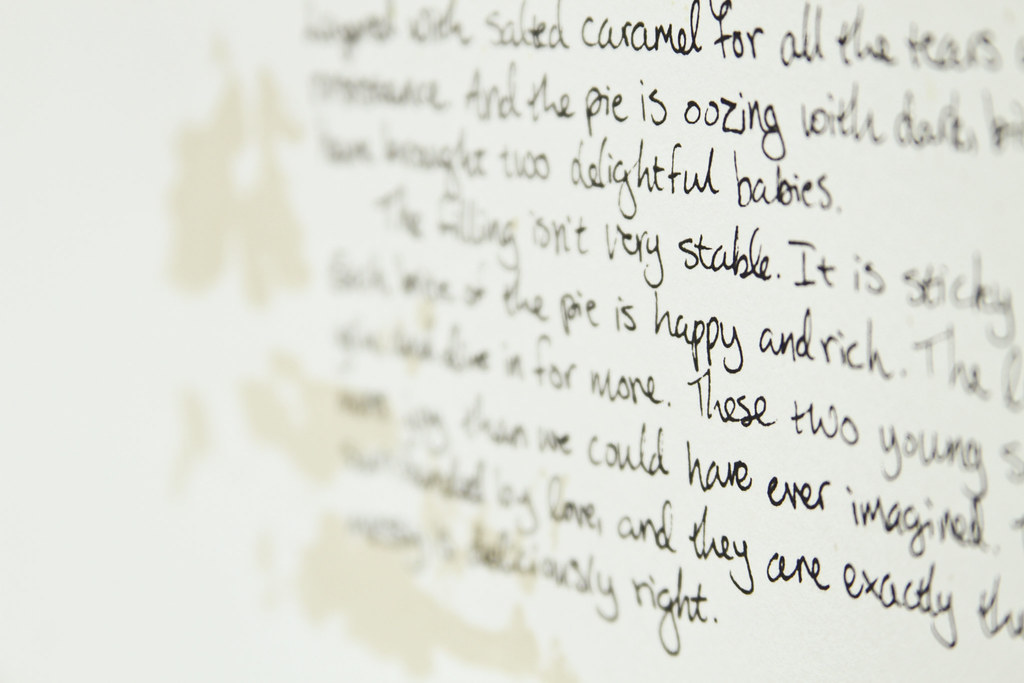


Prints inspired by the winning pie recipes and their stories:


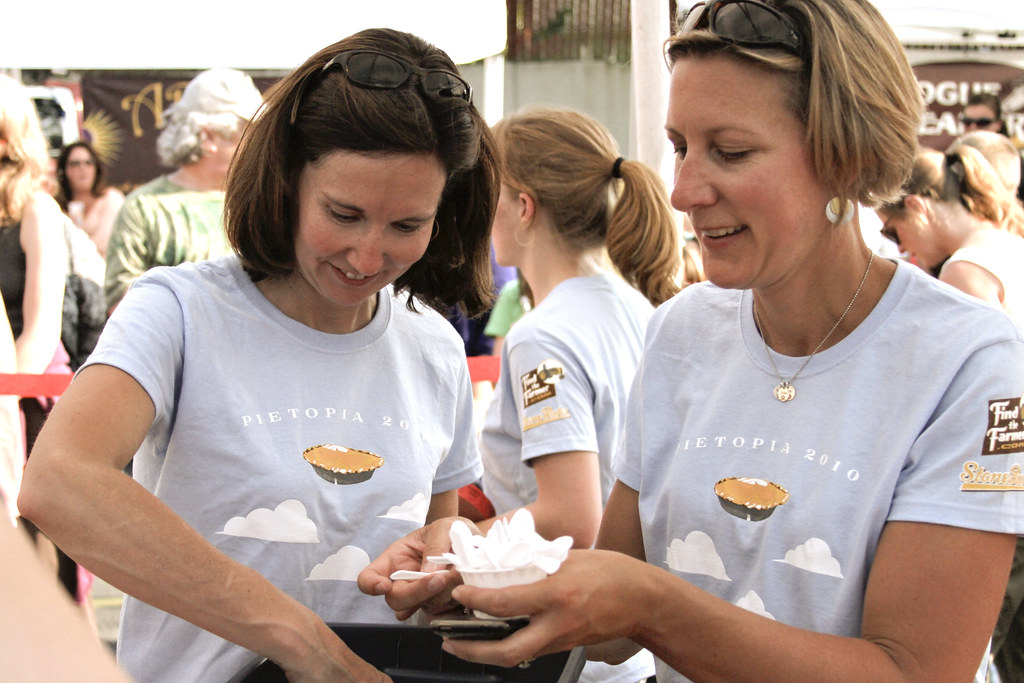
For more info about Pietopia 2010, including winning recipes and stories, click here.
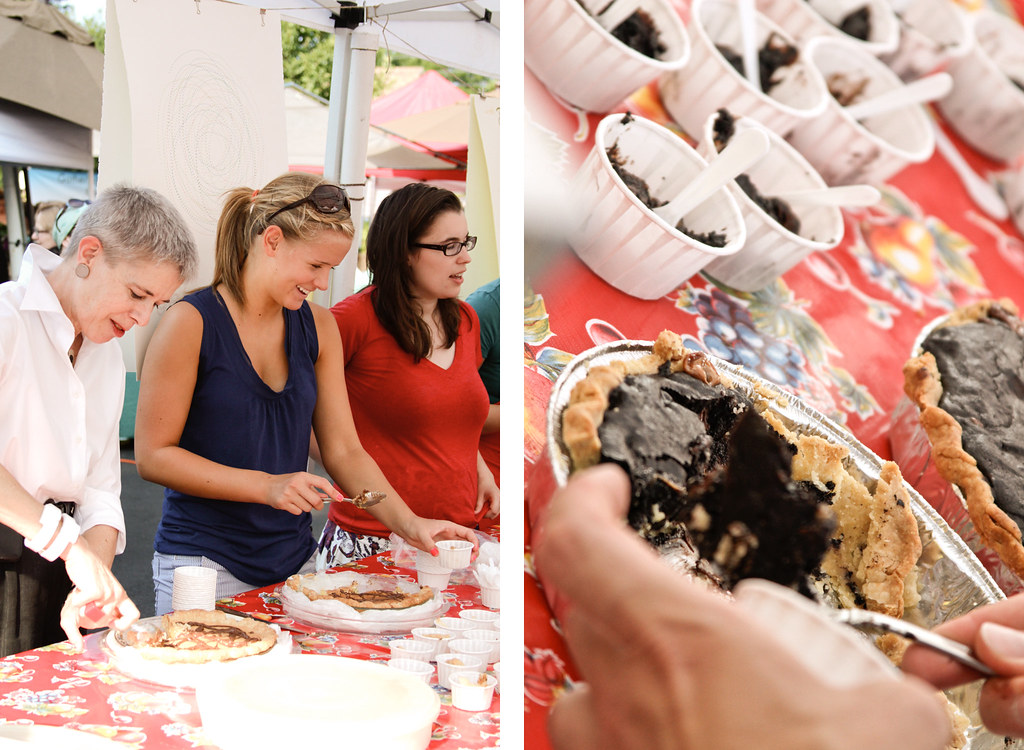
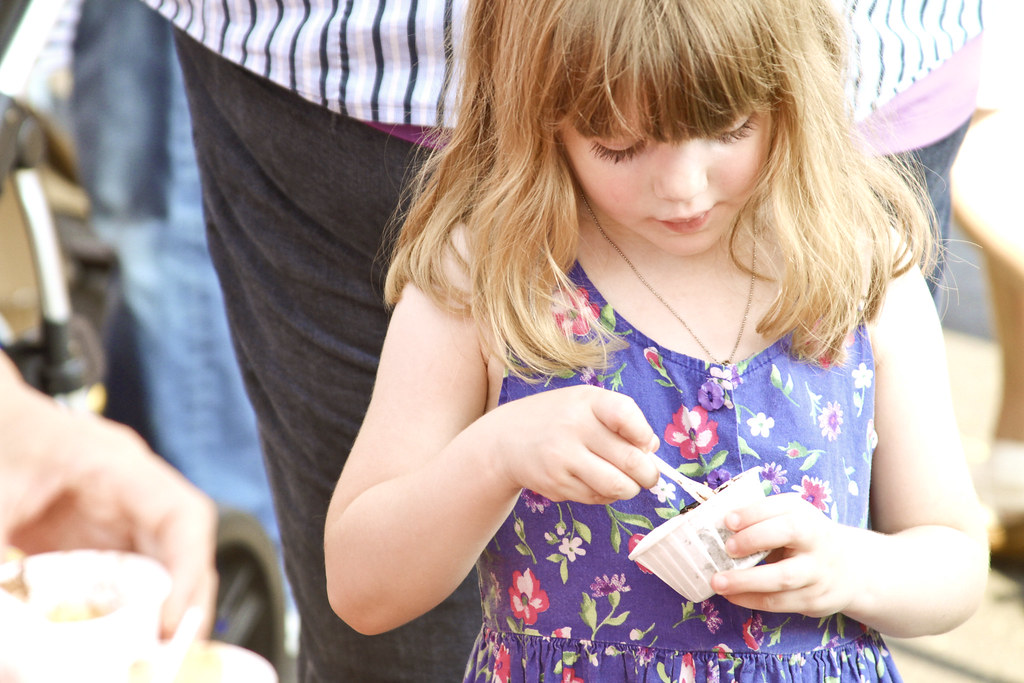
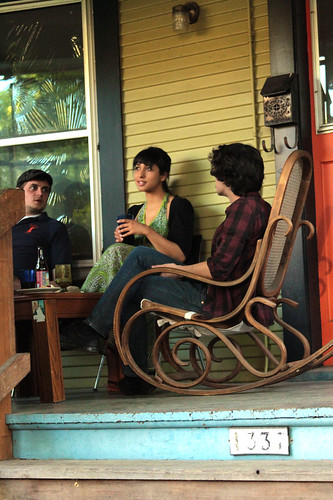
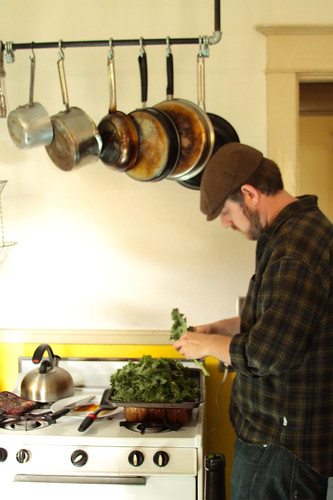
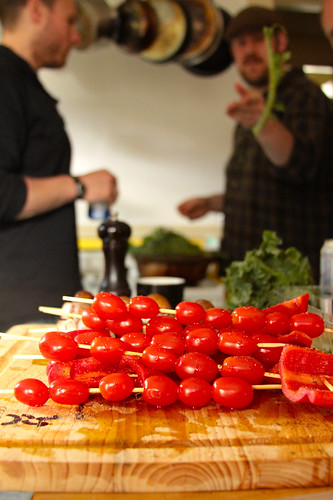
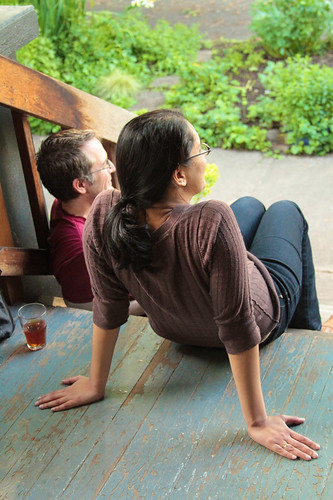
All photos © Allison Jones 2010. Full sized images here.

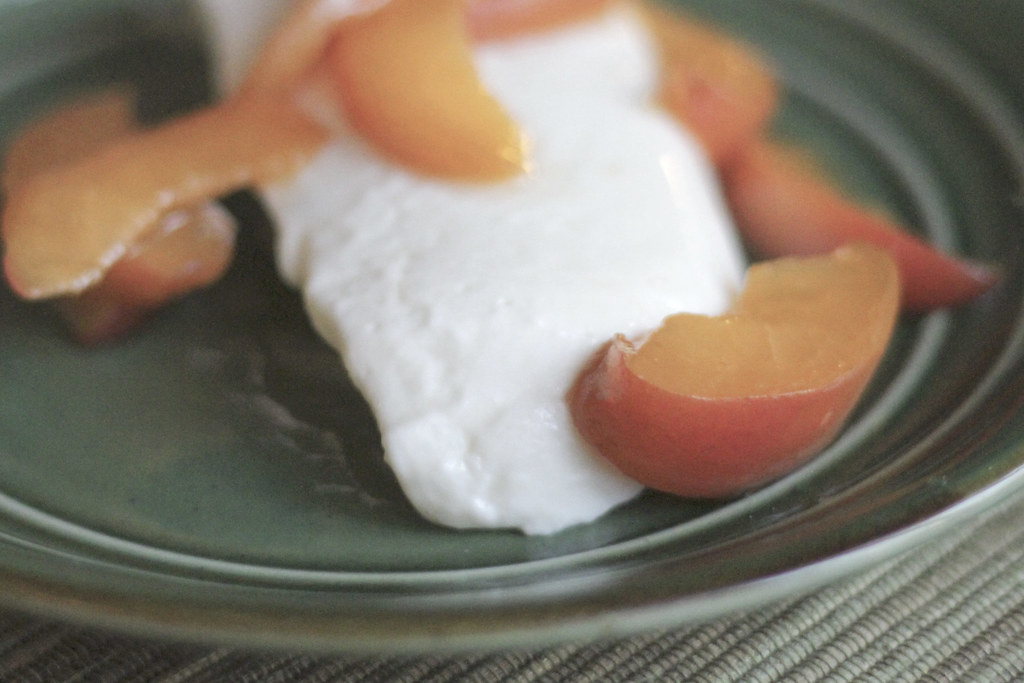
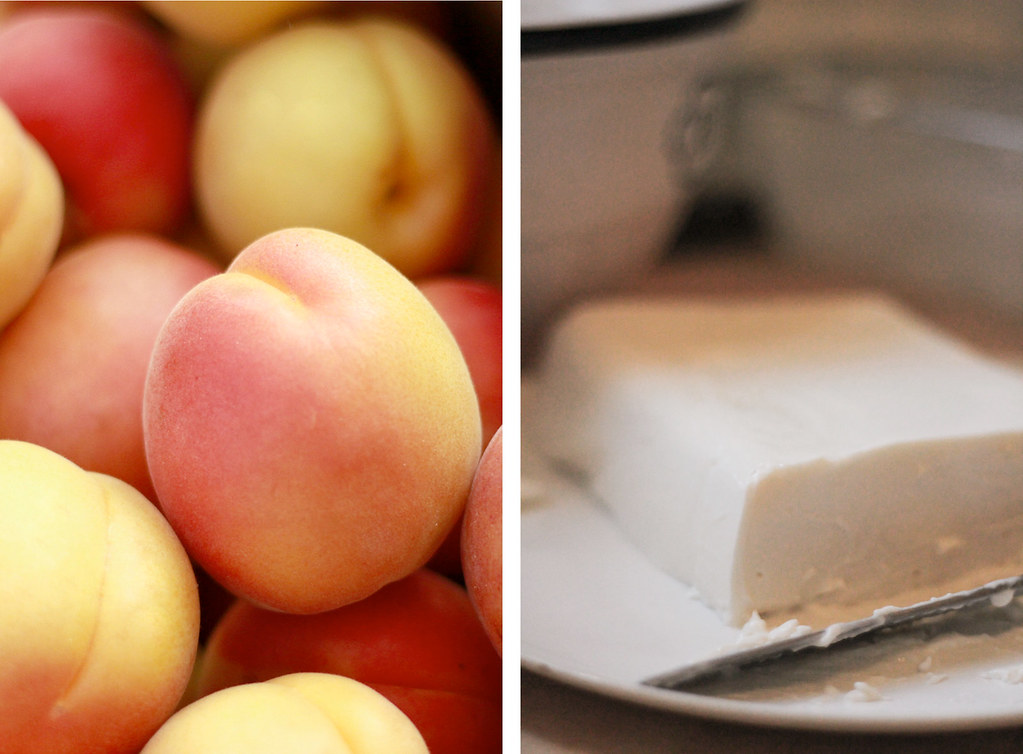
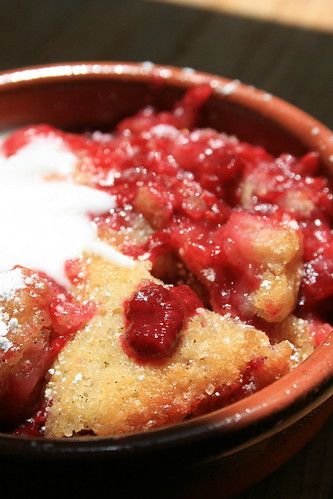
Greek Yogurt Panna Cotta
adapted from Nancy over at Good Food Matters
1 package Gelatin
2 T. Water
1 cup Whipping Cream
1/4 cup Sugar
1/4 cup Honey
1 t. Vanilla
2 cups Whole Milk Greek YogurtSprinkle gelatin into a bowl, and stir in the water. The gelatin will soften and clump, but don’t worry, it will smooth out in the brief cooking that’s to follow.
Gently heat the cream in a saucepan. Stir in the sugar, honey, vanilla, and the gelatin. Stir steadily with a wooden spoon until sugar and gelatin has completely dissolved throughout the mixture. Do not let this boil.
When all is incorporated, remove from heat. Stir in the Greek yogurt.
Pour into a glass container of any shape, up to and including an old glass bread pan. Or break out your fancy cordial glasses or ramekins... Cover and chill for at least 3 hours.


Preheat the oven to 350 degrees F.
In an electric mixer fitted with the paddle attachment, cream together the butter and sugar until they are just combined and then add the vanilla. Separately, sift together the flour and salt. With the mixer on low speed, add the flour mixture to the creamed butter and sugar. Mix until the dough starts to come together. Dump on a floured board and roll together into a flat disk. Wrap in plastic and chill for 30 minutes.
Roll the dough into 1 1/4-inch balls. Place the balls on a parchment-lined cookie sheet and press an indentation into the top of each with your finger. Drop 1 teaspoon of jam into each indentation. Bake for 20 to 25 minutes, until lightly golden. Cool and serve.
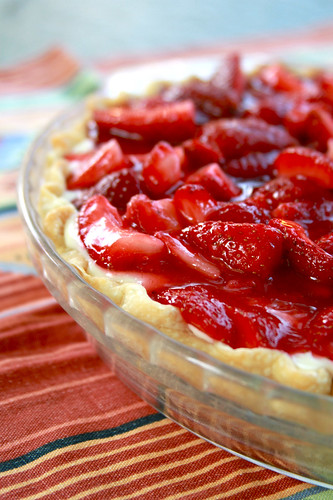
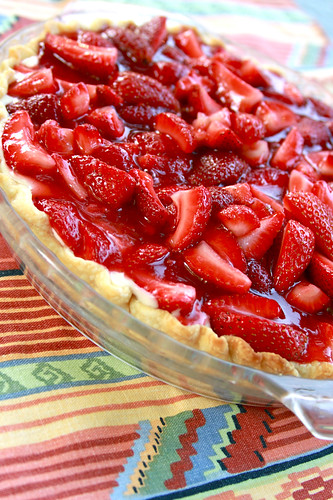

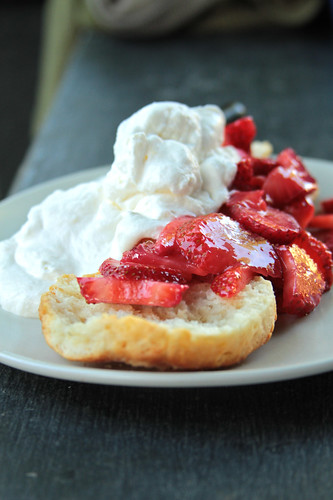
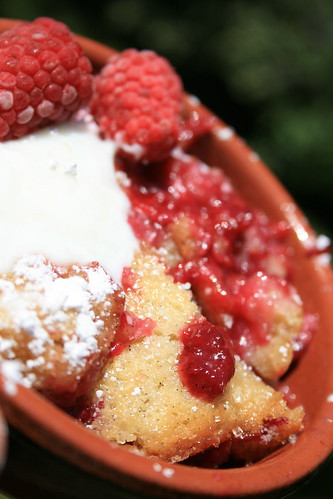
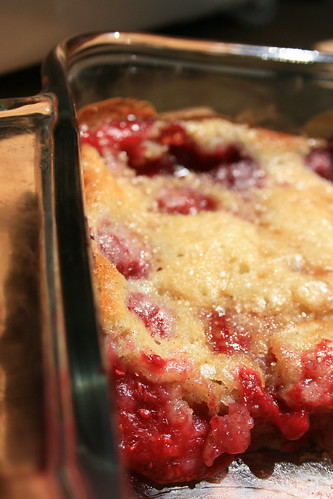
Classic Strawberry Cream Pie
Adapted from Laura Flowers and Better Homes & Gardens Dessert Cook Book, published 1960.
1 9-inch pie crust (I use the 'Foolproof Pie Dough' from Cooks' Illustrated)
1 recipe cream filling (below)
3 cups fresh strawberries
½ cup water
¼ cup sugar
2 teaspoons cornstarch
Pre-bake pie crust using pie weights or dried beans. Let cool. Fill with chilled Cream Filling. Quarter two and a half cups of the strawberries, place in large bowl. Crush remaining half cup berries (I used a potato masher); add water; cook 2 minutes. Mix sugar and cornstarch: gradually stir into berry sauce. Cook over low heat, and stir until thick. Cool slightly; pour over bowl of quartered strawberries, mix well. Arrange over cream filling. Keep refrigerated until served.
Cream Filling
½ cup sugar
3 tablespoons cornstarch
3 tablespoons enriched flour
½ teaspoon salt
2 cups heavy cream
1 slightly beaten egg
½ cup sour cream
Mix first 4 ingredients. Gradually stir in cream. Stirring constantly, bring to a boil; reduce heat and stir until thick. Stir a little of the hot mixture into egg; return to remaining hot mixture. Bring just to boiling, stirring constantly. Cool, then chill. Beat well; fold in sour cream. (I'd let this cool for a few hours, at least, maybe even overnight before piling the strawberries on top. That gives it more of a cheesecake-y texture that is really amazing)
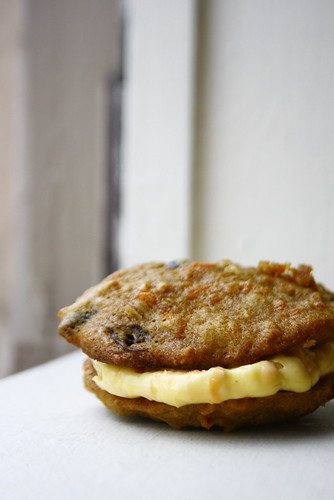
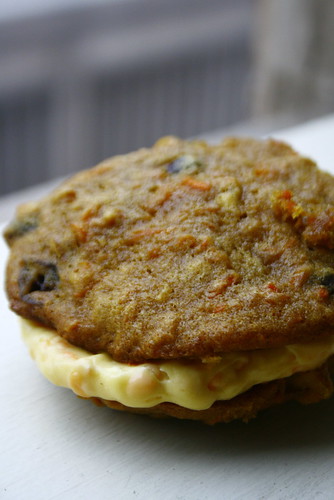
Inside-Out Carrot Cake Cookies with Carrot Cream Cheese Frosting
Adapted from Gourmet, April 2004Ingredients
1 1/8 cups all-purpose flour
1 teaspoon cinnamon
1/2 teaspoon ginger
1/4 teaspoon allspice
1/4 teaspoon cloves
1/2 teaspoon baking soda
1/2 teaspoon kosher salt
1 stick (1/2 cup) unsalted butter, softened
1/3 cup plus 2 tablespoons packed dark brown sugar
1/3 cup plus 2 tablespoons granulated sugar
1 large egg
1/2 teaspoon vanilla
2 cups coarsely grated carrots, divided
1 cup pecans, chopped
1/2 cup dried cranberries
8 ounces cream cheese
1/2 cup butter, softened
1 cup powdered sugar or 1/4 cup honey
Preparation
Put oven racks in upper and lower thirds of oven and preheat oven to 375°F. Grease 2 baking sheets or line with parchment paper (these can get sticky, I recommend the parchment).
Whisk together flour, spices, baking soda, and salt in a bowl.
Beat together butter, sugars, egg, and vanilla in a bowl with an electric mixer at medium speed until pale and fluffy, about 2 minutes. Mix in 1 cup of the carrots carrots, all of the pecans and cranberries at low speed, then add flour mixture and beat until just combined.
Drop 1 1/2 tablespoons batter per cookie 2 inches apart on baking sheets and bake, switching position of sheets halfway through baking, until cookies are lightly browned and springy to the touch, 12 to 16 minutes total. Cool cookies on sheets on racks 1 minute, then transfer cookies to racks to cool completely.
While cookies are baking, blend cream cheese, butter, and sugar (or honey) in a food processor until smooth. Add the other cup of grated carrots to frosting, mix well.
Sandwich flat sides of cookies together with a generous tablespoon of cream cheese filling in between.
Enjoy!
A while back, my roommate Dragonfruit spent a crazy amount of money on some high quality maple syrup for a breakfast-for-dinner party. Some other friends brought another bottle of syrup, which was used first - presumably under the pretense of not wasting the "good stuff". Needless to say, we still have a big thing of syrup in the fridge. What is a "special occasion" for syrup?
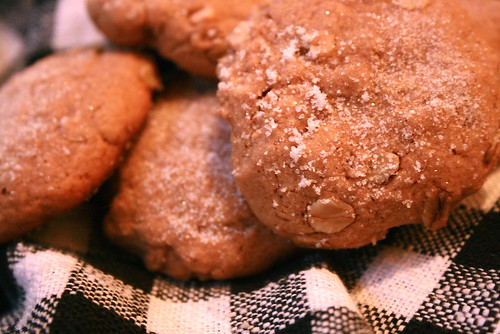
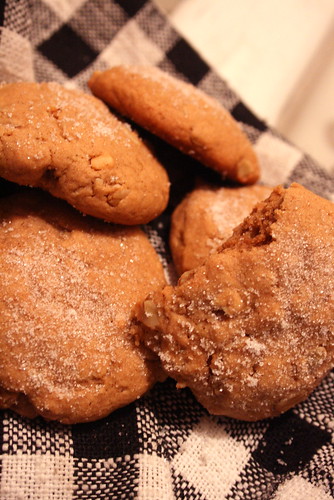
Maple Oat Peanut Butter Cookies
1/2 cup natural peanut butter
1/2 cup maple syrup
3 tablespoons canola oil
1 teaspoon vanilla extract
1 cup whole wheat pastry flour (or AP flour)
1/2 teaspoon baking soda
1/2 teaspoon salt
1/2 cup dry toasted oats
Preheat the oven to 350. In a large bowl, combine peanut butter, maple syrup, canola oil and vanilla extract until well blended. In a separate bowl, mix together whole wheat pastry flour, baking soda and salt. Add dry ingredients to wet ingredients, along with oats, and stir until just combined. Let sit for five minutes. Roll heaping tablespoons of dough into balls, flatten to about 1/3 of an inch and place onto cookie sheet. Bake for 8-10 minutes. Makes 18 cookies.

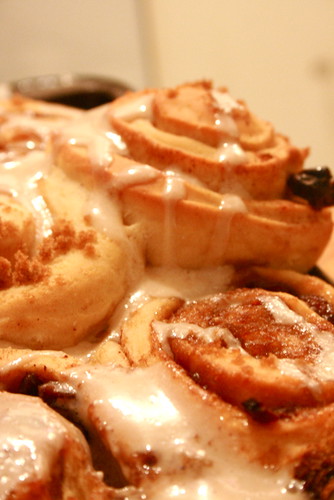
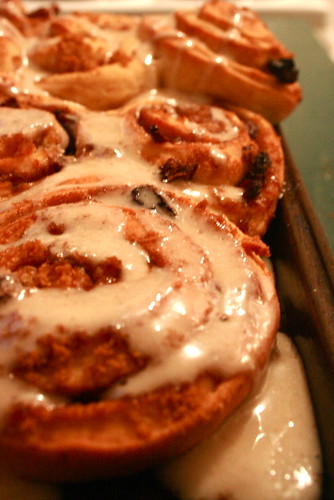
Cinnamon Apple-Raisin Oat Bread
Adapted from Jeffrey Hamelman's Bread
Makes 3 loaves
5 1/2 cups bread or all-purpose unbleached flour
1 7/8 cups whole wheat flour
1 5/8 cups rolled oats
2 1/2 cups water, divided into 2 cups and 1/2 cup
3/8 cups half-and-half or milk
3 tablespoons honey
5 1/2 tablespoons vegetable oil
1 tablespoons plus 1/2 teaspoon salt
1 1/4 tablespoon dry active yeast
2 tablespoons ground cinnamon
1 cups soaked and drained raisins
1 1/2 cups diced apples
While you measure and mix the other ingredients, soak the raisins in warm water. Next, soak the oats in a large bowl in the 2 cups water for 20 to 30 minutes. Proof the yeast in the remaining 1/2 cup warm water for about 7 minutes. Mix the flours, yeast, milk, honey, oil, salt, and cinnamon into the oats. Mix well, until all of the flour is hydrated. Knead by hand for 5 minutes or in a standmixer for 3, then mix in the drained raisins. Knead or mix until the raisins are distributed throughout the dough.
Cover the bowl of dough and allow it to rise for 1 hour. Then remove the dough from the bowl and fold it, deflating it gently as you do. Place the dough on a floured work surface, top side down. Fold the dough in thirds, like a letter. Fold in thirds again the other way. Flip the dough over, dust off as much of the raw flour as you can, and place it back into the bowl. Cover the bowl and allow the dough to rise in bulk again for another hour. Then divide the dough in thirds and shape the loaves. Place each shaped loaf into a greased bread pan. Spray or gently brush each loaf with water and sprinkle with some more oats. Cover the pans and set aside to rise until the loaves crest above the edge of the pans, roughly 90 minutes. Preheat the oven to 450. Place the loaves in the center rack of the oven. After 5 minutes, reduce the oven temperature to 375. Rotate the loaves 180 degrees after 20 minutes, and bake for another 15 to 25 minutes, until the tops of the loaves are nicely browned, the bottoms of the loaves make a hollow sound when tapped. Cool before slicing.
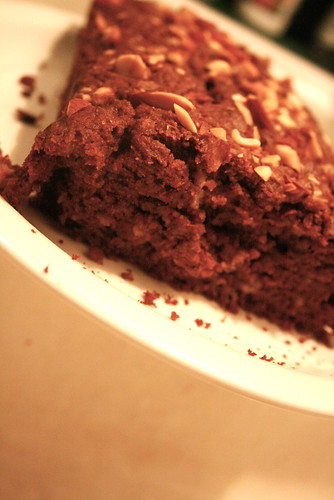
Cocoa Agave Banana Oat Nut Bread
1/2 cup agave nectar
1/3 cup olive oil
1 teaspoon vanilla extract
2 eggs
2 tablespoons unsweetened cocoa
3 very ripe bananas
2 cups whole wheat flour
1/2 cup whole oats
1/2 teaspoon salt
1 Teaspoon baking soda
1/2 cup chopped almonds, plus more for sprinkling on top
Preheat oven to 330
Sift together flour, baking soda, and salt. Mix in oats and set aside.
In a large bowl, beat oil and agave nectar. Add eggs one by one and mix well. Mix in bananas, cocoa and vanilla, making sure everything gets incorporated. Stir in flour/oat mixture and nuts. Grease a regular loaf pan, and pour batter in, spreading evenly.
Sprinkle with remaining chopped nuts.
Bake for 50-60 minutes, until an inserted toothpick comes out clean. Enjoy warm or wait a while for the flavors to blend.


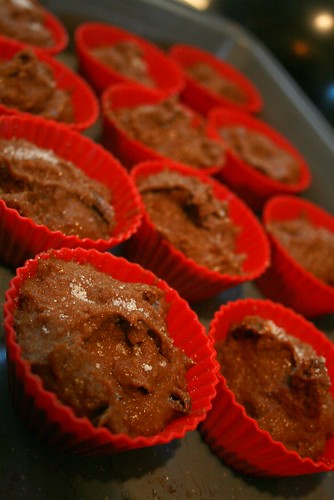
Pumpkin Pecan Cocoa Muffins
(makes 12-15 full sized muffins, depending on size - and how much of the batter you eat)
1/2 cup Pecan Halves or Pieces
1 1/2 cup whole wheat flour
1/2 cup organic sugar (white or brown, whatever you have) plus a bit more for sprinkling
1 teaspoon baking powder
1 teaspoon baking soda
3 tablespoons unsweetened cocoa powder
1 teaspoon cinnamon
1 teaspoon nutmeg
1/2 teaspoon salt
2 eggs
1 cup pumpkin puree (more or less - I used a bit more - find out how to make your own here)
1/2 cup canola oil
1/3 cup honey
Preheat oven to 350 degrees. Place pecans on baking sheet and set in warming oven - don't forget them! They'll be toasted by the time you need to mix them in. Spray your muffin pans, use paper liners, or those fancy silicone baking cups (love them - they're reusable and theres much less cleanup!)
In the bowl of your stand mixer or with a large bowl with a whisk, sift together flour, baking powder, baking soda, spices, salt, and cocoa. Add pumpkin, eggs, oil, honey into the same bowl (you could beat them separately - but I just threw them into the mix and it worked really well). Mix until just combined, and stir in pecans. Spoon into muffin cups to your preferred amount - I like mine almost full. Sprinkle with a bit of sugar - it won't seem to do much to the look of the uncooked batter, but when their baked they look so pretty - you can really see a difference.
Bake for about 20 minutes - they should spring back when lightly pressed in the tops. Enjoy!


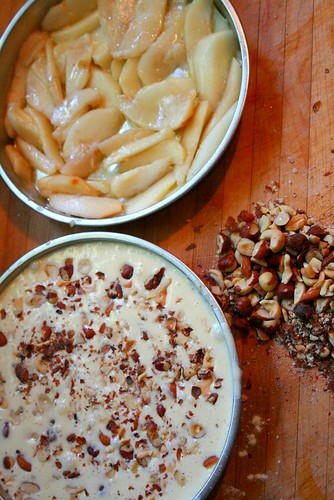
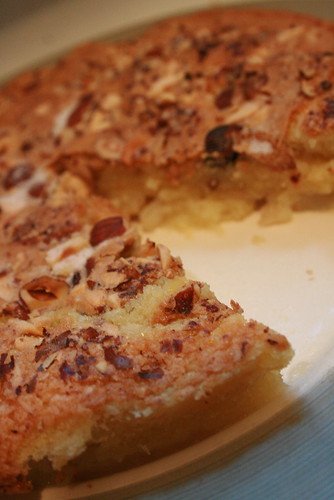
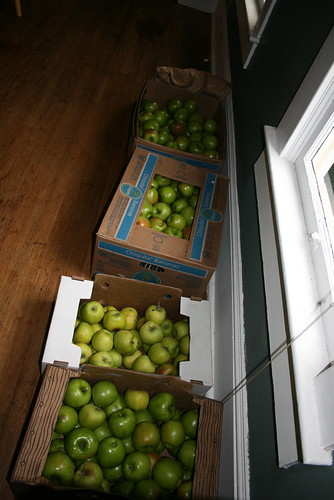
Right-Side Up Pear Cake
1 stick salted butter, melted
5 large pears (or any other fruit you've got!)
1/2 cup sugar
2 duck eggs (or 3 large chicken eggs)
1/2 cup flour
1 tsp vanilla extract
1/2 cup mixed nuts (I used roasted & salted cashews, hazelnuts, almonds, and pecans)
2 tsp baking powderPreheat the oven to 350°F.
Slice fruit and arrange on bottom of 8 inch cake pan (I doubled the recipe and made two in the pics above - the recipe as written makes one cake).
In a large bowl with a whisk or using a stand-mixer with the paddle attachment, blend the sugar with the eggs for about a minute. Add in the flour, vanilla and baking powder, and blend well. Pour in the butter, and blend for another minute. Pour batter over fruit and top with mixed nuts. Bake for 35 minutes or until a toothpick inserted into the center comes out clean.
Let the cake cool for a few minutes. Invert it on a plate (the fruit side will be on top). If any bit of fruit has stuck to the bottom of the pan, simply scrape them and place them back where they belong on the cake. Use a second plate to invert the cake again (the fruit side will then be at the bottom). Let cool and serve slightly warm or at room temperature.